
Cabinet Hardware Placement: A Practical Guide for Homeowners
Good cabinet hardware placement is less about finding one universal millimetre measurement and more about applying a clear rule consistently across the whole run. Door profiles, drawer widths, pull lengths and the way the cabinetry is used all affect the final position, so treat common measurements as starting points rather than standards that every kitchen must follow.
The safest workflow is simple: choose the hardware first, confirm its fixing centres, mock up the position on the actual joinery, then use a jig or template to repeat that position accurately.
Start with the hardware dimensions
Before marking a cabinet, note the overall handle length and the centre-to-centre measurement between its fixing holes. Centre-to-centre, often shortened to C-to-C, is the measurement that matters when drilling or replacing an existing pull.
If you are replacing current hardware, measure between the centres of the existing screw holes rather than measuring the overall length of the old handle. Matching the C-to-C can save you from filling and redrilling finished cabinetry.
Where to place knobs on cabinet doors
On hinged doors, knobs usually sit near the opening corner: toward the lower corner of an upper cabinet and toward the upper corner of a base cabinet. The exact inset should respond to the stile width, door profile and knob diameter.
On Shaker-style cabinetry, use the rail-and-stile geometry as your visual reference. A knob positioned comfortably within the stile usually looks more resolved than one placed according to a fixed measurement that ignores the door proportions.
For slab doors, there is no frame to guide the eye, so consistency between adjoining doors becomes even more important. Tape a knob temporarily in position and view the entire elevation before drilling.
Where to place pulls on cabinet doors
Vertical pulls on hinged doors normally follow the same opening-side logic as knobs. Position the pull where it can be reached naturally without forcing the hand too close to the door edge.
On tall pantry or wardrobe doors, a longer pull can create a stronger architectural line. Aligning its position with nearby drawer hardware or appliance pulls often matters more visually than centring it on the full door height.
Where to place handles on drawers
For standard drawers, a single knob or pull centred horizontally is a dependable starting point. Vertical placement can be centred on the drawer face or adjusted slightly to suit the profile of framed cabinetry.
Very wide drawers may suit a longer single pull or two smaller pulls. If using two, space them symmetrically rather than placing them by eye. The decision should consider both appearance and how the drawer feels when loaded.
A long pan drawer benefits from hardware that can be gripped comfortably and opened without twisting the front. Mock up the handle positions before drilling, particularly on wide or heavy drawers.
Keep alignment consistent across the room
The eye notices misalignment quickly. Across a bank of drawers, check that handles share a consistent horizontal line. Across neighbouring doors, use the same reference edge and the same template orientation.
Appliance panels are easy to overlook because they may be installed at a different stage. Where possible, align integrated-fridge and dishwasher pulls with the surrounding joinery so they read as part of the same composition.
Use a jig or template
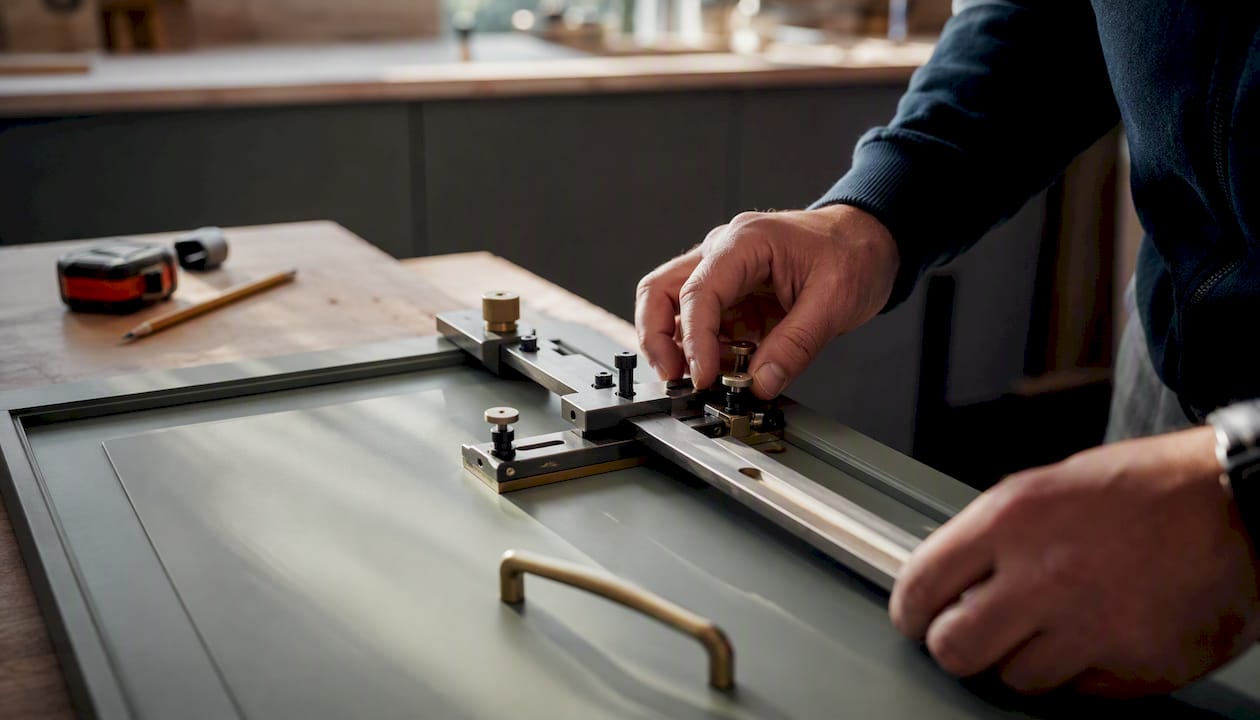
A cabinet hardware jig is one of the simplest ways to reduce installation mistakes. Once the position is confirmed, the jig lets you repeat the same offset and fixing centres across multiple doors and drawers.
For a small project, a rigid homemade template can also work. Mark the orientation clearly so it cannot be accidentally flipped between left- and right-hand doors.
Before drilling finished cabinetry:
- Confirm the product and C-to-C measurement.
- Mock up the position with painter's tape.
- Check the whole elevation from normal viewing distance.
- Mark every door and drawer before drilling the first one.
- Use a sharp bit and support the back of the panel where practical.
- Test-fit the first handle before repeating the pattern.
Choose handle length in proportion to the joinery
There is no compulsory ratio between drawer width and handle length. A smaller pull can look refined on detailed joinery, while a long bar pull can intentionally emphasise the width of a contemporary drawer.
The useful question is whether the handle looks deliberate at the scale of the front and remains comfortable to use. Compare a few sizes on the actual cabinetry rather than relying only on a formula.
Browse Bergamo's cabinet hardware to compare knobs and pulls in different lengths, finishes and materials.
Coordinate cabinet hardware with door hardware
In open-plan homes, kitchen handles are often visible alongside pantry, hallway and internal door hardware. The pieces do not need to be identical, but keeping the finish and design language related gives the project a more coherent result.
Read our guide on matching door handles and cabinet hardware if you are planning both parts of the project together.
Test finishes before drilling
Hardware position is only one part of the decision. Finish, projection and grip all feel different once the piece is held against real joinery. Contact us to ask about sample availability before committing to the full quantity.
Final checklist
- Confirm handle C-to-C dimensions before drilling.
- Use one repeatable reference point across matching doors.
- Mock up the position and step back before committing.
- Check wide drawers for comfortable operation.
- Align appliance panels with surrounding cabinetry where possible.
- Use a jig or template for repeatability.
- Give your cabinetmaker the final hardware schedule before production.
When in doubt, the best placement is the one that feels comfortable in use and looks consistent across the complete elevation—not the one that follows an arbitrary measurement most precisely.
Read more
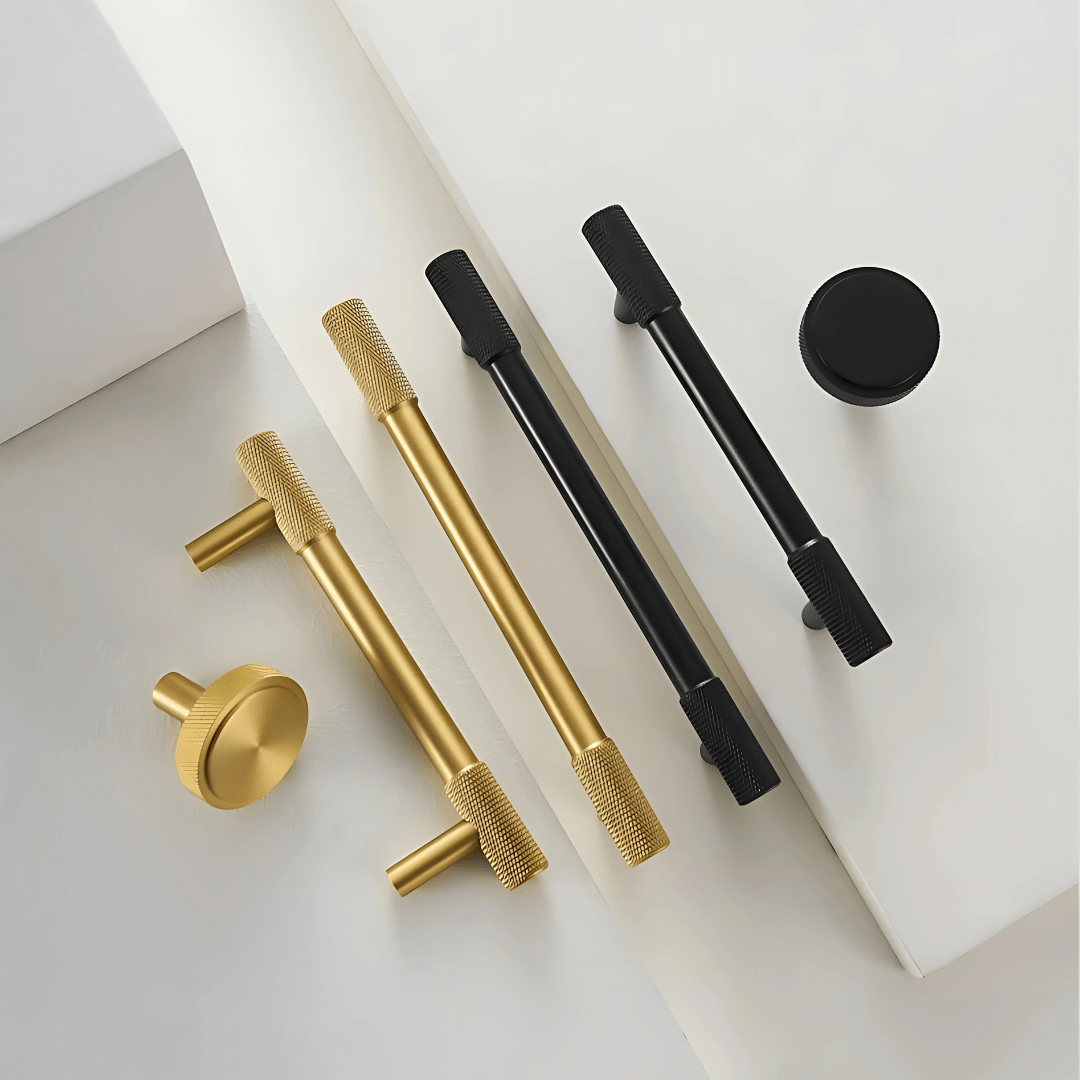
Choose kitchen bar handles by length, hole centres, projection and placement, with practical sizing guidance for drawers, pantry doors and custom joinery.
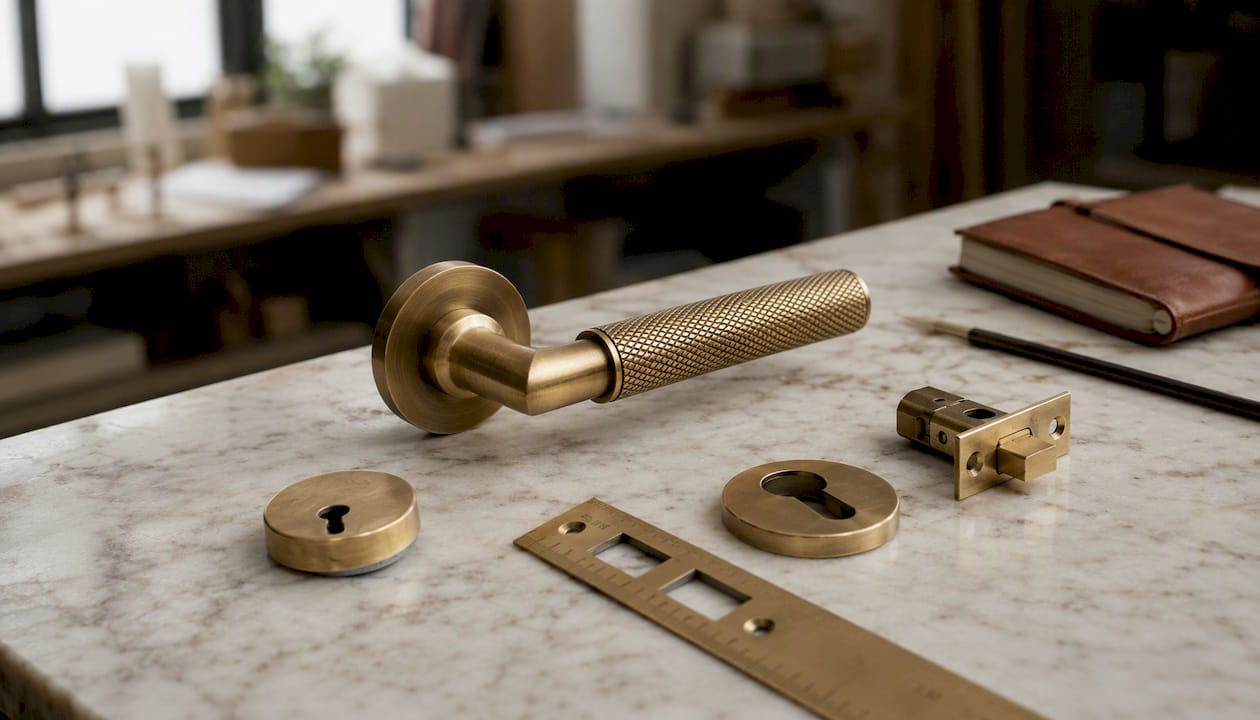
Discover how to identify and order the right door hardware parts, ensuring proper fit and compliance with Australian standards for your needs.
Leave a comment
All comments are moderated before being published.
This site is protected by hCaptcha and the hCaptcha Privacy Policy and Terms of Service apply.